If you searched for google bike, you probably want one of two things: cycling directions in Google Maps or a simple way to use Google technology while riding. I have spent enough time following questionable route lines through Eugene, Oregon, to know that the answer is not always “take the shortest path.” A good cycling setup should help you ride with fewer surprises, not bury you in data.
Google Maps can provide bicycle-friendly directions in supported areas, while Wear OS watches and the Pixel Watch can put turn guidance, time, heart rate, and workout information on your wrist. Used together, google bike tools can be genuinely useful for commuting, errands, and easy training rides. They are less useful when you expect a phone map to understand every pothole, trail closure, or informal local shortcut.
What Google bike usually means
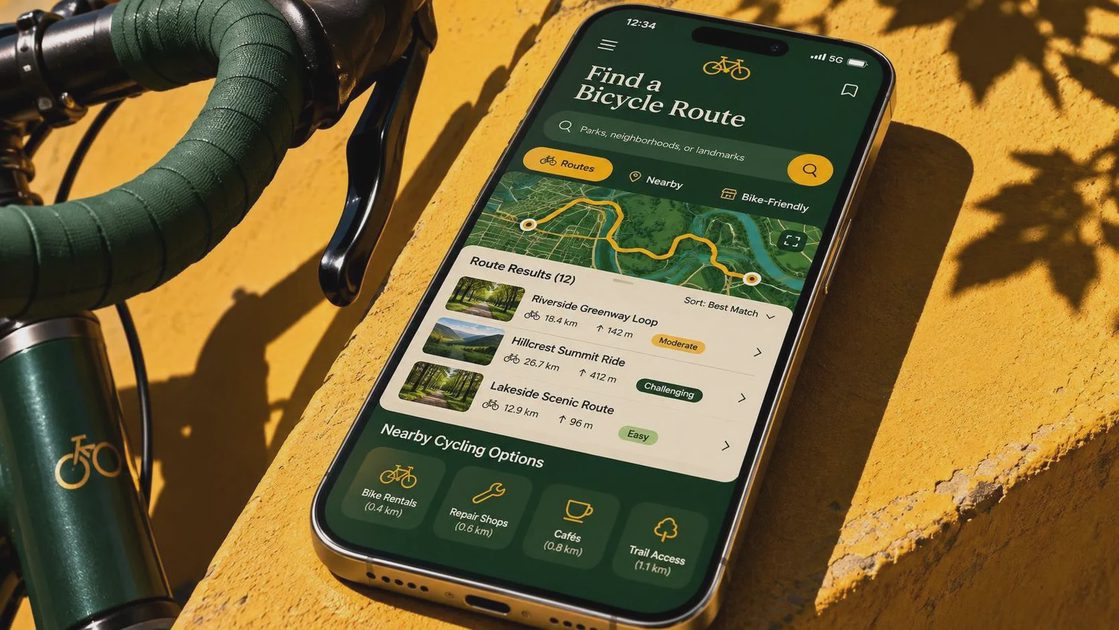
The phrase google bike is not the name of one official bicycle product. Most people use it when looking for Google Maps bike directions, biking navigation, or a Google-connected cycling experience. In Google Maps, you enter a destination, select the bicycle icon when it is available, and review the suggested route. The app may favor bike lanes, paths, and roads that are more practical for cycling than the fastest car route.
Coverage differs by location. A route that looks excellent in Portland or Seattle can be much less detailed in a smaller town. Google Maps also works from available map data, so a newly built path, seasonal gate, washed-out trail, or road with poor shoulders may not be represented perfectly. I treat the route as a useful first draft, not as a ride leader with local knowledge.
For a five-mile trip to work, that distinction matters. A route that adds eight minutes but avoids a busy arterial is often the better choice. For a long recreational ride, I check the elevation, surface, major crossings, and likely places to stop before leaving home.
How to use Google Maps for a bike ride
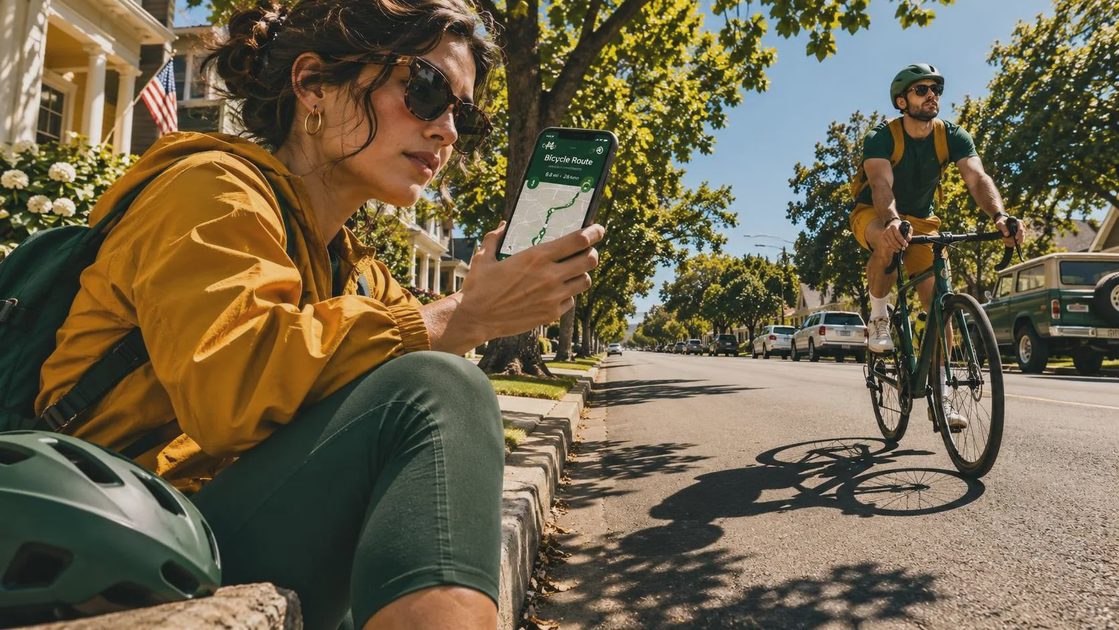
Start by entering the destination and choosing bicycle directions. Zoom in around the beginning and end of the route because those are the places where navigation instructions are most likely to feel awkward. Google Maps may guide you through a short connection that is legal for bikes but difficult with a trailer, road bike, or child passenger.
Next, scan the route for hills and surface changes. Google Maps can show elevation information in some cycling views, but the visual profile is not a substitute for knowing your fitness or gearing. A six-mile route with one sustained climb can feel harder than a flat ten-mile route. I also look for bridges, intersections, railroad crossings, and sections where a bike lane suddenly disappears.
Save the route or send it to your phone before rolling. Keep the screen readable, but do not stare at it while moving. Voice prompts, a handlebar mount, or a smartwatch glance can reduce the need to handle the phone. If the ride is unfamiliar, download relevant map information when possible and carry a backup plan for losing service or battery.
What a smartwatch adds
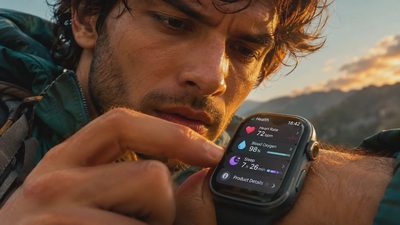
A smartwatch does not make a questionable route safer by itself. Its value is reducing friction. A compatible Wear OS watch can show notifications or navigation prompts, and the Pixel Watch can track common exercise information such as duration, distance, pace, and heart rate. That lets you leave your phone in a pocket or mounted securely instead of checking it every few minutes.
The Google bike experience is best when navigation remains simple. A turn prompt at an intersection is helpful. A stream of vibration alerts, calorie estimates, and live performance numbers can become noise. On my own rides, I care more about seeing the next turn and knowing whether I have been moving for an hour than about watching heart rate change from one minute to the next.
Heart rate can be useful for pacing, particularly on steady training rides, but wrist sensors are affected by fit, temperature, sweat, and vibration. A high number after a short hill is not automatically a health warning. Trust the trend, not the reading. If a reading seems unusual and you feel unwell, stop and deal with the symptom rather than arguing with the watch.
Choosing between a phone, watch, and bike computer
For occasional riders, a phone with Google Maps is usually enough. It offers the largest screen, familiar search, and easy route changes. The tradeoff is battery use, weather exposure, and the temptation to look down too often. A basic handlebar mount can cost roughly $15 to $40, but a poor mount is false economy if it loosens on rough pavement.
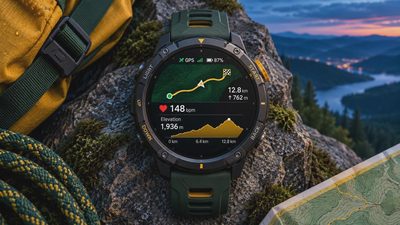
A smartwatch is a good middle option for people who already wear one. It keeps key prompts visible and records the ride without requiring another device. Battery life becomes more important when you combine GPS, bright display settings, music, and cellular service. Charge before a long ride and test the navigation at home rather than discovering the limitation ten miles from your starting point.
A dedicated bike computer from Garmin, Wahoo, or Hammerhead is usually better for cyclists who ride regularly, follow structured routes, or need long battery life. These devices can offer clearer cycling screens, physical buttons, and stronger route handling. They also add cost, often from about $150 to more than $700. You do not need one for a weekend ride to the farmers market.
Common problems with Google bike directions
The first problem is route confidence. A blue line can look authoritative even when the road feels wrong. Pause before a busy junction and compare the map with what you see. If a path is closed, crowded, muddy, or clearly unsafe, choose the safer road and recalculate later.
The second problem is battery dependence. GPS, screen brightness, and Bluetooth can drain a phone faster than a normal day of messaging. Start with a full charge, carry a small power bank for longer trips, and avoid streaming unnecessary video or music. A printed address or a note with the next major cross street can be surprisingly valuable.
The third problem is over-measuring. Distance and speed are estimates, not a judgment on the quality of your ride. A slow family outing can be exactly the right workout, while a hard ride can be the wrong choice if you are exhausted. The device should support your decision-making instead of replacing it.
A practical setup for your next ride
Before leaving, check the route on a larger screen, confirm the destination, and inspect the first two turns. Charge the phone and watch, attach the phone securely if you need a mount, and set navigation volume or vibration at a level you can notice. Pack water, a small repair kit, identification, and a light layer even if the forecast looks friendly.
During the ride, follow the road rather than blindly following the line. Slow down before intersections, make your own safety decisions, and pull over before changing the route. Afterward, review the ride for useful patterns: Was the route too hilly? Did the watch lose GPS under trees? Did you spend more attention on the screen than on traffic?
That is the real value of google bike tools. They can help you find a workable route and build confidence, but they cannot replace judgment, local awareness, or basic preparation. Start with Google Maps, add a smartwatch if you already own one, and buy a dedicated computer only when your riding habits give you a clear reason. The best setup is the one that gets you looking ahead, not endlessly checking your wrist.



No letters yet — pray write the first.